
Lab 2-3 testing mode identify motherboard components part 1 – Embark on a journey through lab 2-3 testing mode, where the intricacies of motherboard components are unveiled. This comprehensive guide delves into the purpose and functionality of each component, empowering you with the knowledge to identify and troubleshoot issues with ease.
Our exploration begins with an overview of the motherboard’s architecture, followed by a step-by-step walkthrough of the testing process. We will delve into methods for assessing the functionality of critical components like the CPU, RAM, and expansion slots, providing detailed instructions and insights into interpreting the results.
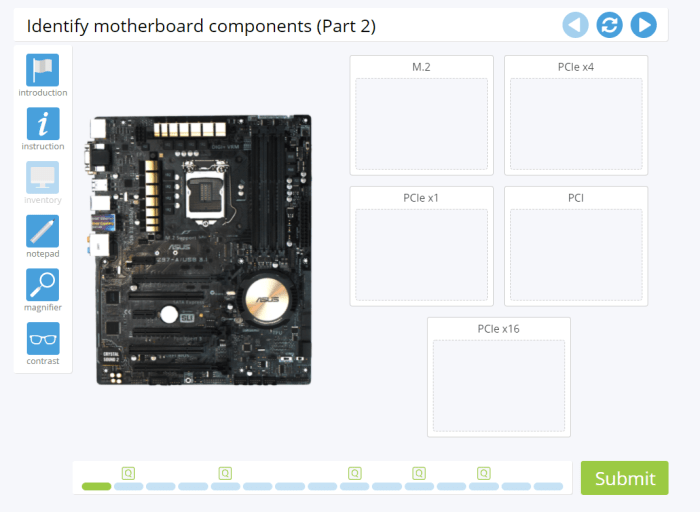
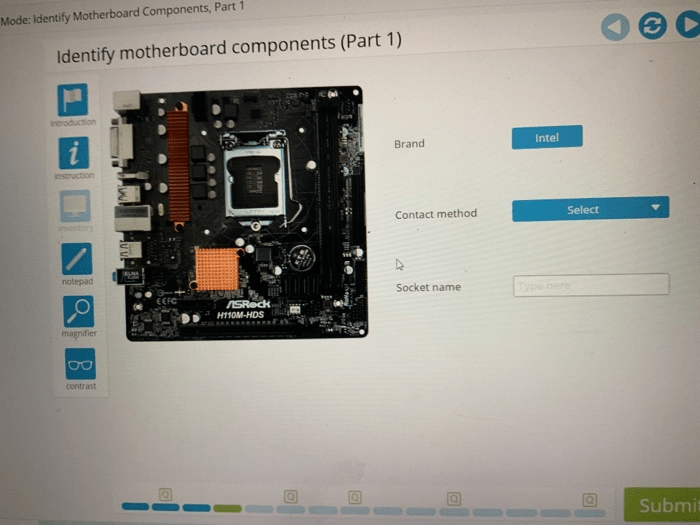
Motherboard Components Overview
A motherboard is the central component of a computer system, connecting all the other components and facilitating communication between them. It consists of various components, each with a specific purpose and functionality.
Key components of a motherboard include:
- Central Processing Unit (CPU) Socket: Accommodates the CPU, which serves as the brain of the computer.
- Memory Slots: Hold Random Access Memory (RAM) modules, which store temporary data and instructions for the CPU.
- Expansion Slots: Provide connectivity for additional hardware components, such as graphics cards, sound cards, and network adapters.
- Input/Output (I/O) Ports: Allow for the connection of external devices, such as keyboards, mice, and monitors.
- Power Connectors: Supply power to the motherboard and its components.
- BIOS (Basic Input/Output System): Firmware that initializes the hardware components and loads the operating system.
Identifying Motherboard Components in Lab 2-3 Testing Mode

Lab 2-3 provides a controlled environment for testing motherboard components and identifying any potential issues. The testing mode allows users to isolate and test specific components without powering up the entire system.
Steps for identifying motherboard components in testing mode:
- Power down the computer and disconnect all cables.
- Remove the motherboard from the case and place it on an anti-static mat.
- Locate the testing mode jumper on the motherboard and set it to the testing mode position.
- Power on the computer and observe the POST (Power-On Self-Test) messages.
- Use a POST code card or diagnostic software to identify any error codes or component failures.
Component Functionality Testing
After identifying the components, it is essential to test their functionality to ensure proper operation.
Methods for testing motherboard components:
- CPU Testing: Use a CPU tester or diagnostic software to check for proper voltage levels, clock speeds, and temperature.
- RAM Testing: Utilize memory testing software or a MemTest86+ bootable USB to detect errors and faulty RAM modules.
- Expansion Slot Testing: Insert a known-good expansion card into each slot and check for functionality and compatibility.
- I/O Port Testing: Connect external devices to each port and verify their functionality.
Troubleshooting Component Issues: Lab 2-3 Testing Mode Identify Motherboard Components Part 1
During motherboard component testing, issues may arise due to faulty components or incorrect configurations.
Troubleshooting steps:
- Reseat Components: Remove and reinsert the CPU, RAM modules, and expansion cards to ensure proper contact.
- Check BIOS Settings: Verify that the BIOS settings are configured correctly for the installed components.
- Use Diagnostic Tools: Utilize POST code cards or diagnostic software to identify specific error codes and locate the faulty component.
- Replace Faulty Components: If a component is confirmed to be faulty, replace it with a known-good one.
Safety Precautions and Best Practices
When working with electrical components, safety precautions are crucial.
Best practices for handling and testing motherboard components:
- Use Anti-Static Measures: Wear an anti-static wrist strap and work on an anti-static mat to prevent electrostatic discharge.
- Handle Components Carefully: Avoid touching the pins or delicate components on the motherboard.
- Power Down the System: Always power down the computer and disconnect all cables before handling any components.
- Seek Professional Help: If you are not comfortable troubleshooting motherboard issues, seek assistance from a qualified technician.
Documenting Test Results
It is essential to document test results and observations for future reference and troubleshooting purposes.
Guidelines for creating test reports:
- Record Component Details: Include the model numbers and specifications of the motherboard and tested components.
- Note Test Conditions: Describe the test setup, including any special configurations or diagnostic tools used.
- Document Test Results: Clearly state the results of each test, including any error codes or issues encountered.
- Provide Troubleshooting Steps: If any issues were resolved during testing, document the steps taken to troubleshoot and fix them.
User Queries
What is the purpose of lab 2-3 testing mode?
Lab 2-3 testing mode provides a controlled environment for testing the functionality of motherboard components, aiding in the identification and troubleshooting of potential issues.
How do I access the testing mode?
The specific method for accessing testing mode may vary depending on the motherboard manufacturer. Consult the motherboard documentation for detailed instructions.
What are some common issues that can be identified using testing mode?
Testing mode can help identify issues such as faulty memory modules, non-functional expansion slots, and BIOS configuration errors.
